
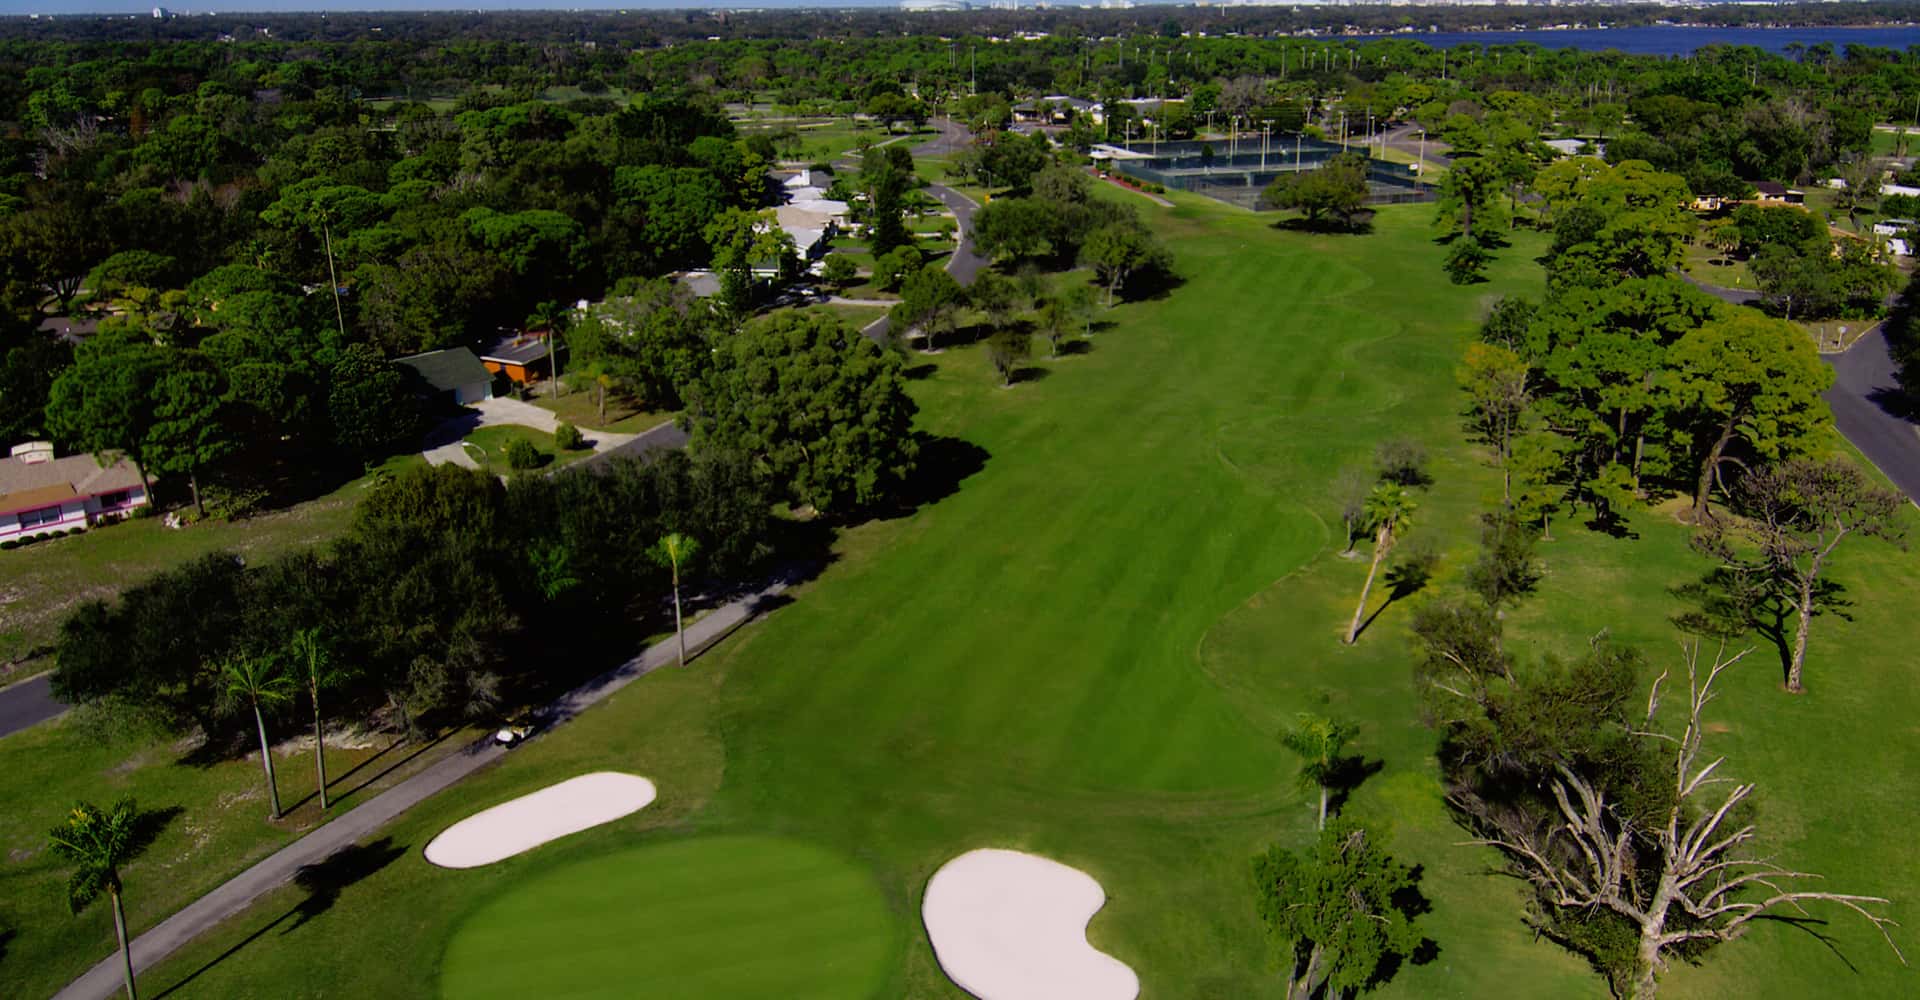
Par: 4
HCP: 5
Bunker: 1
Water Hazards: 0
Direction: North

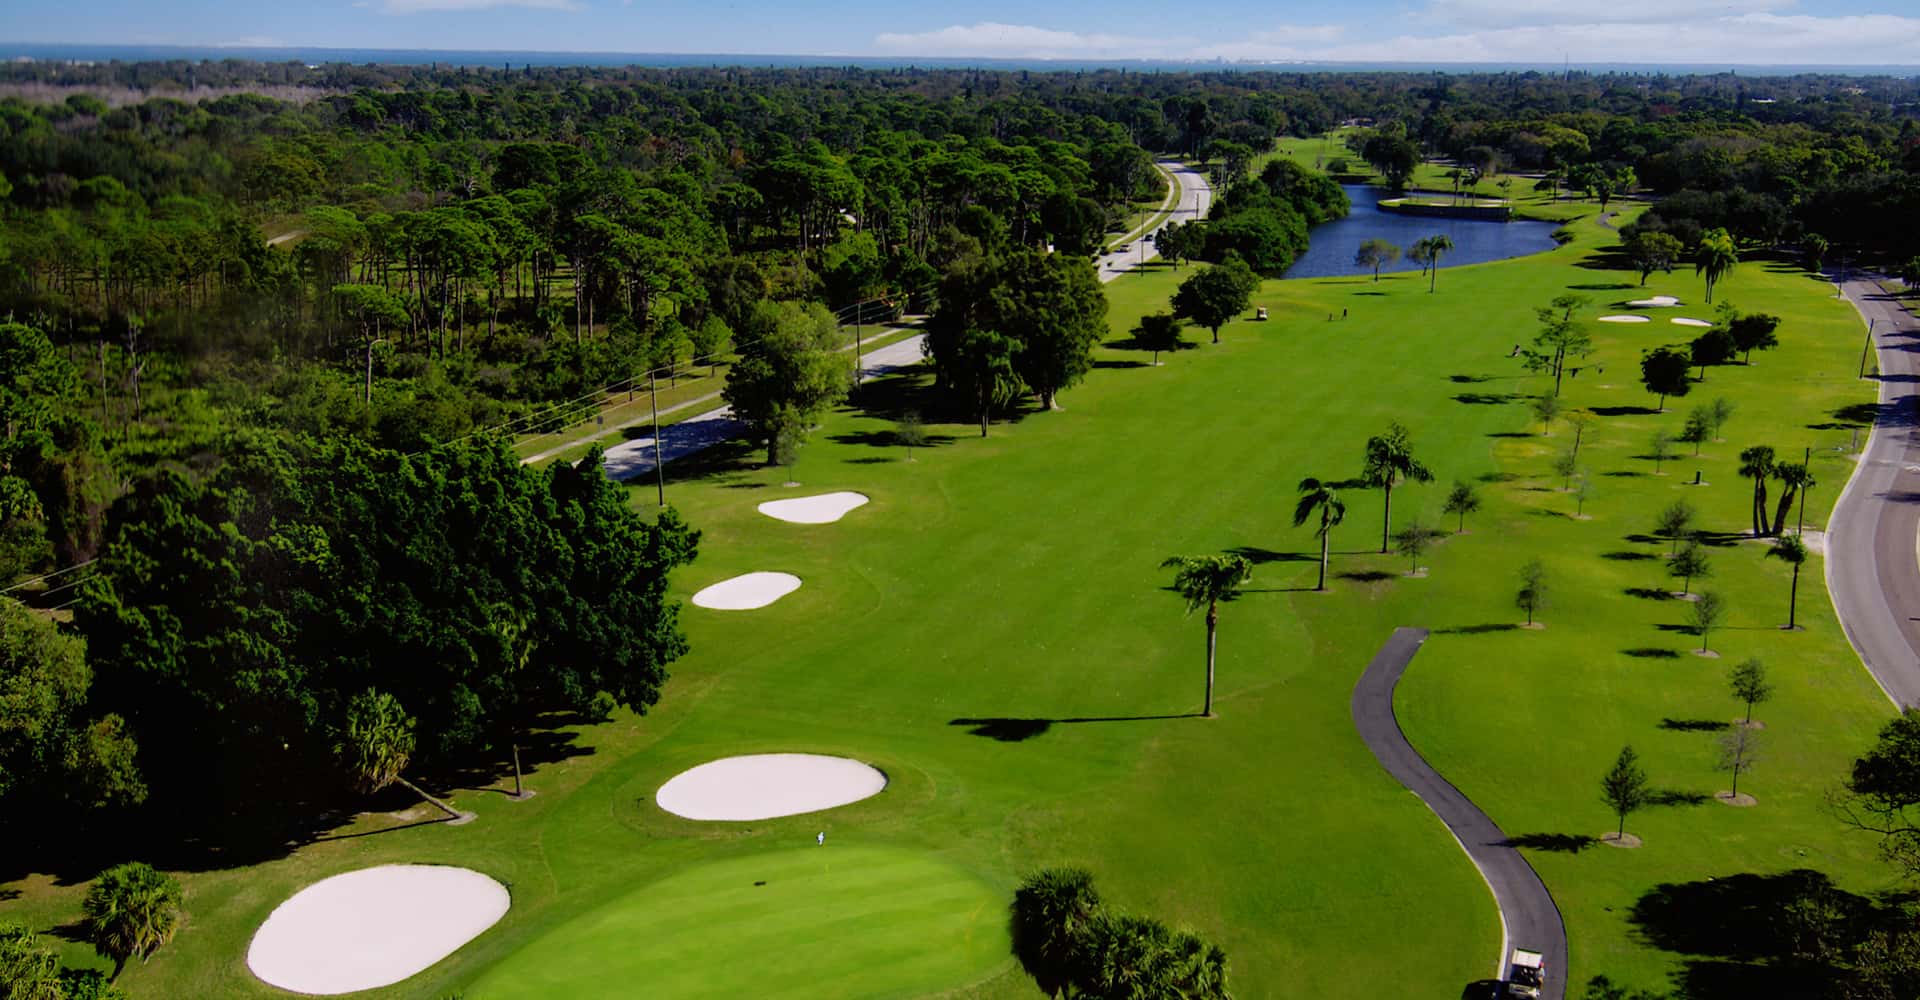
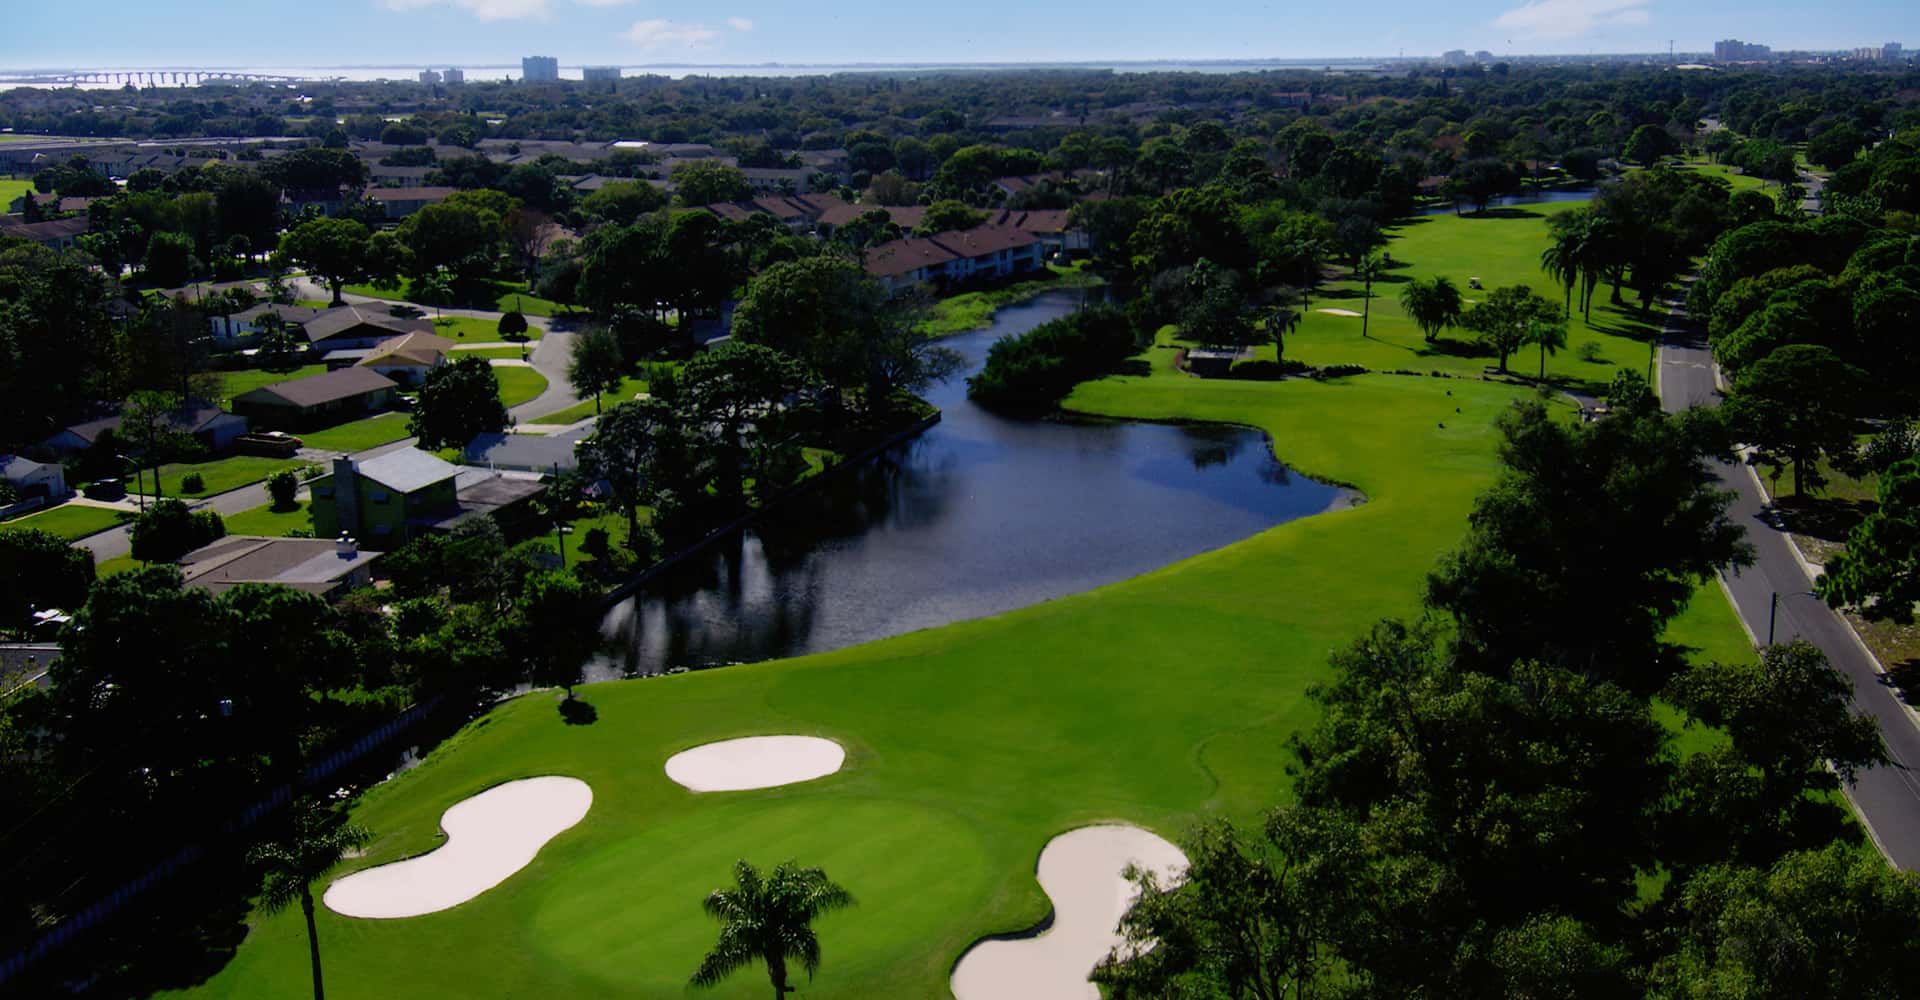
HOLE #1
A solid starting hole, where par is a good score on this medium range 4 par. There is out of bounds left and tricky mounding in the landing area. With the hole location up front keep your approach shot below the hole.
CLICK IMAGE TO ENLARGE
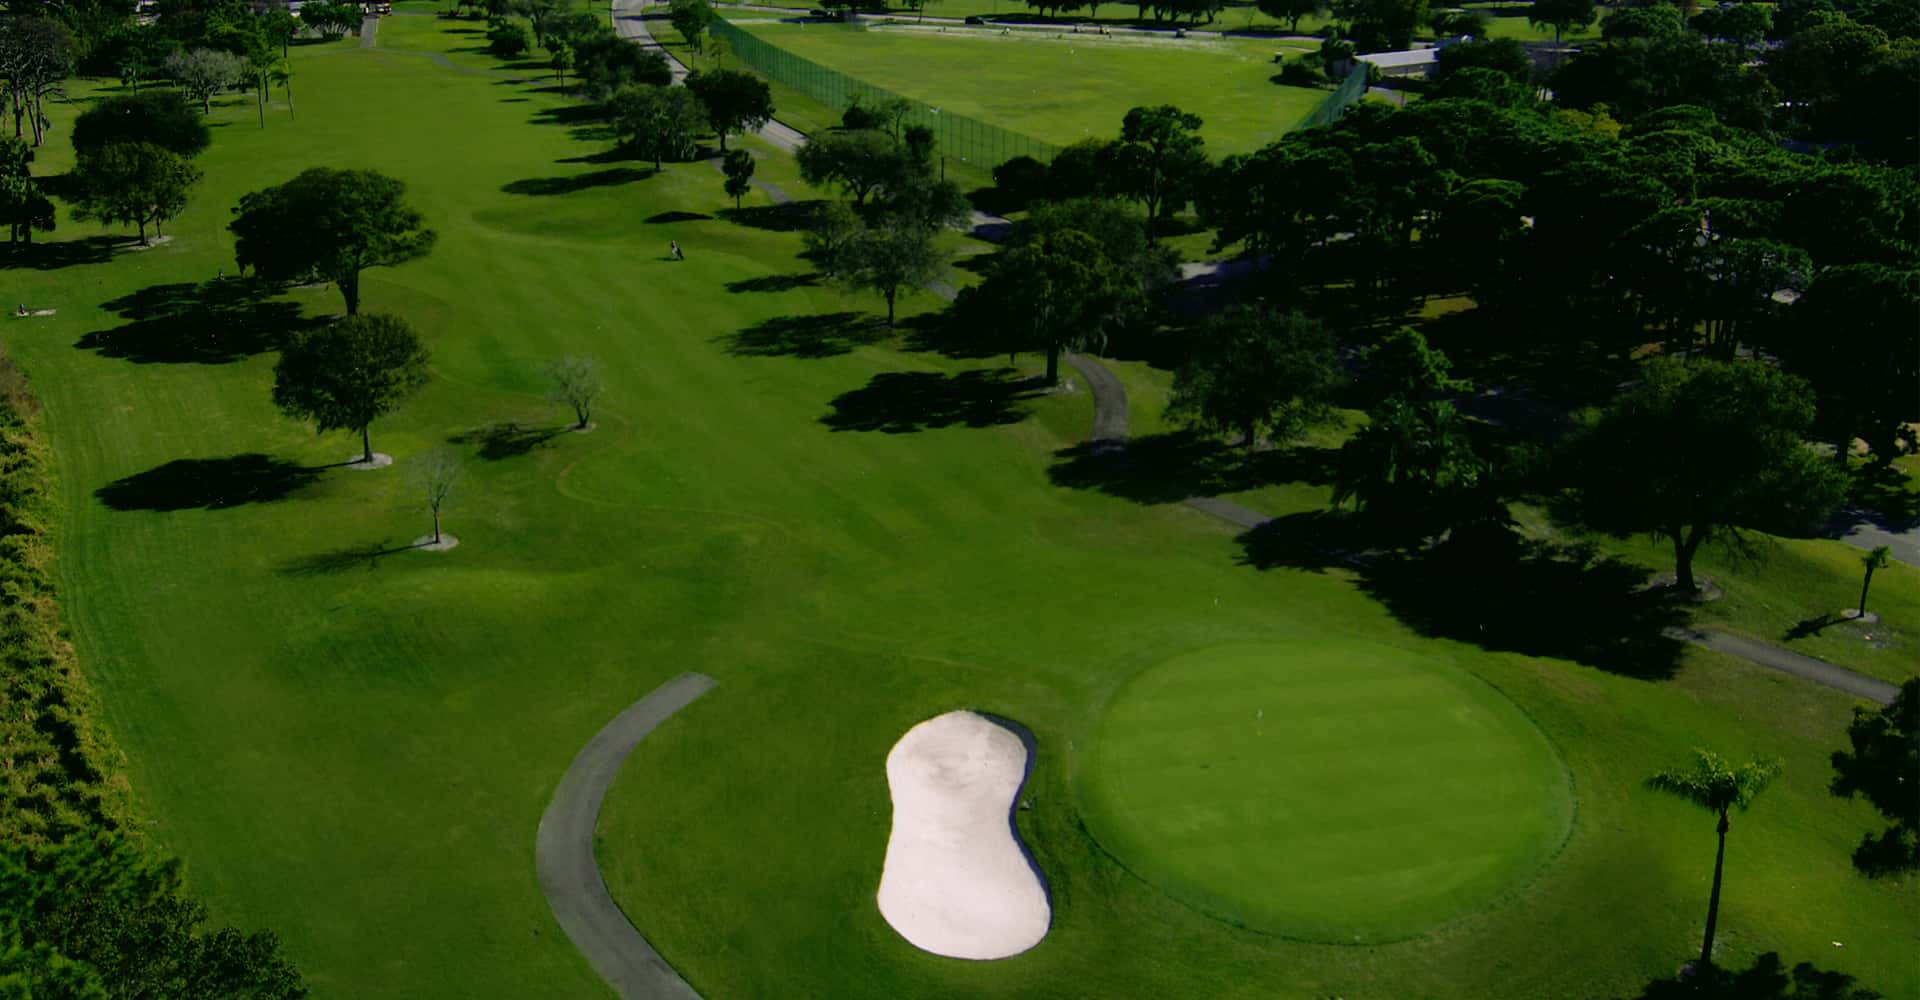
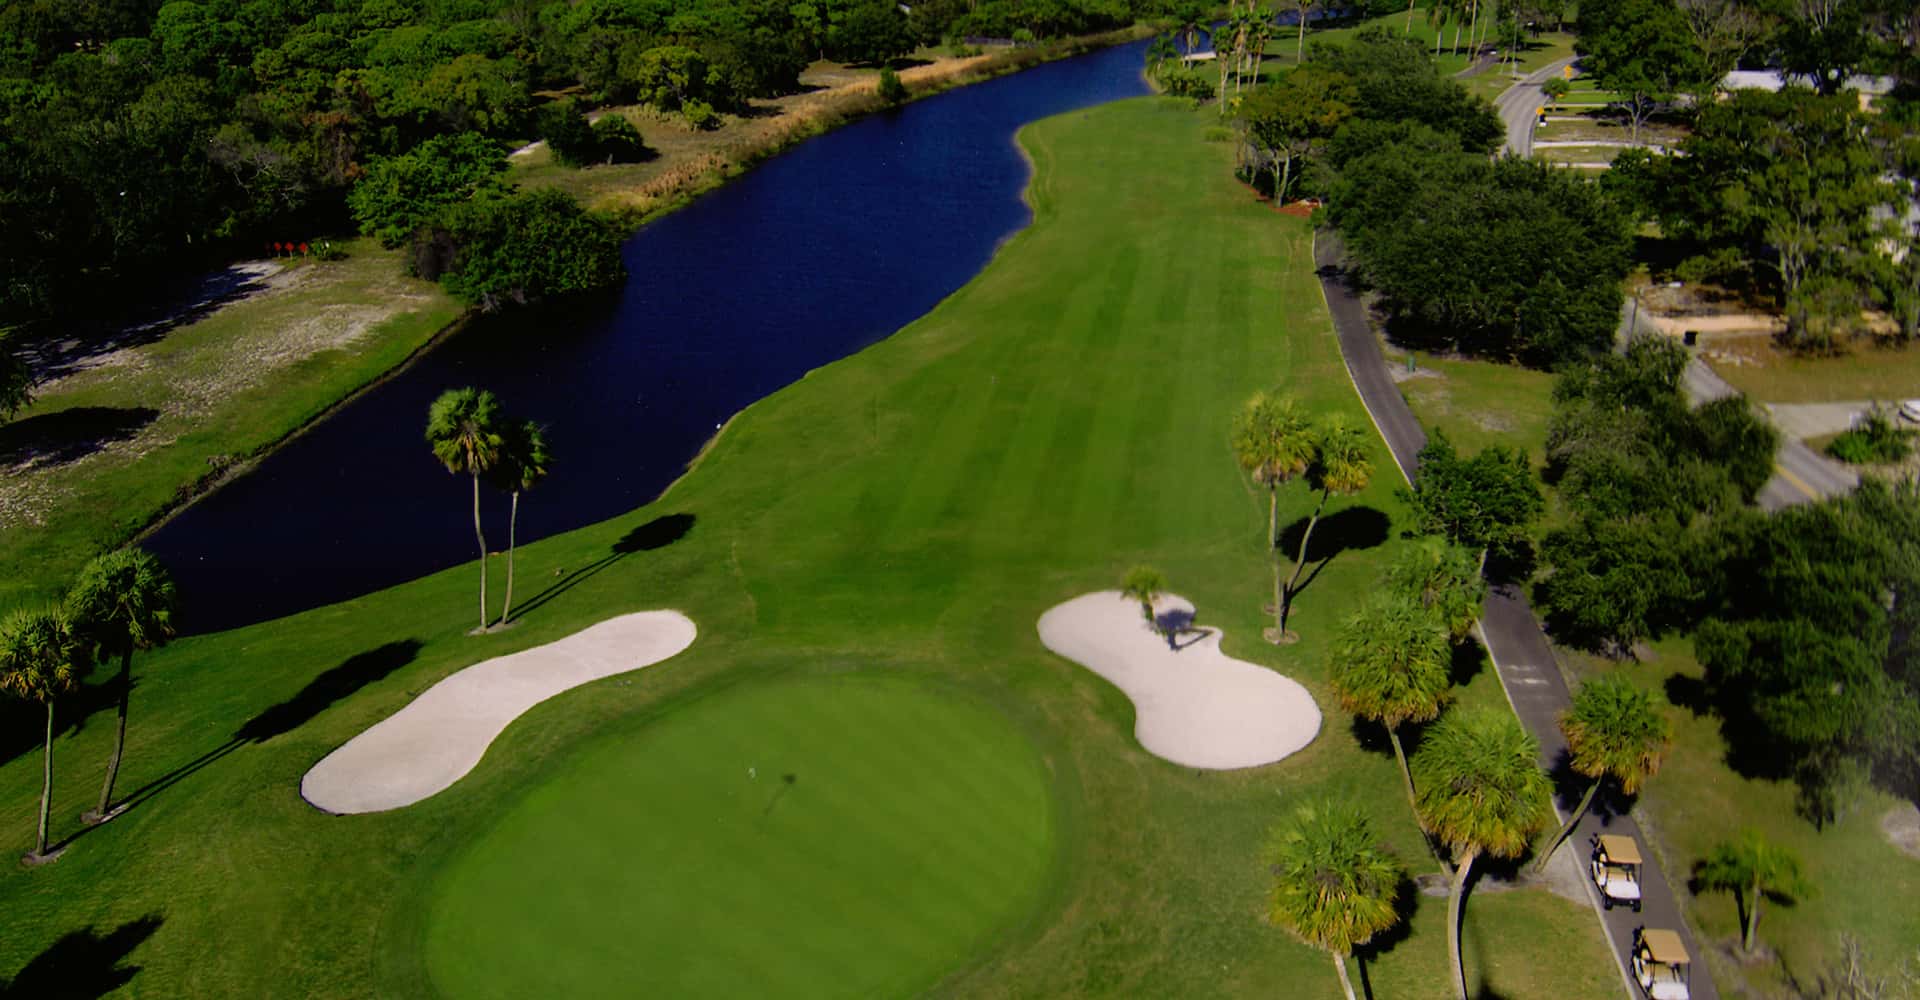
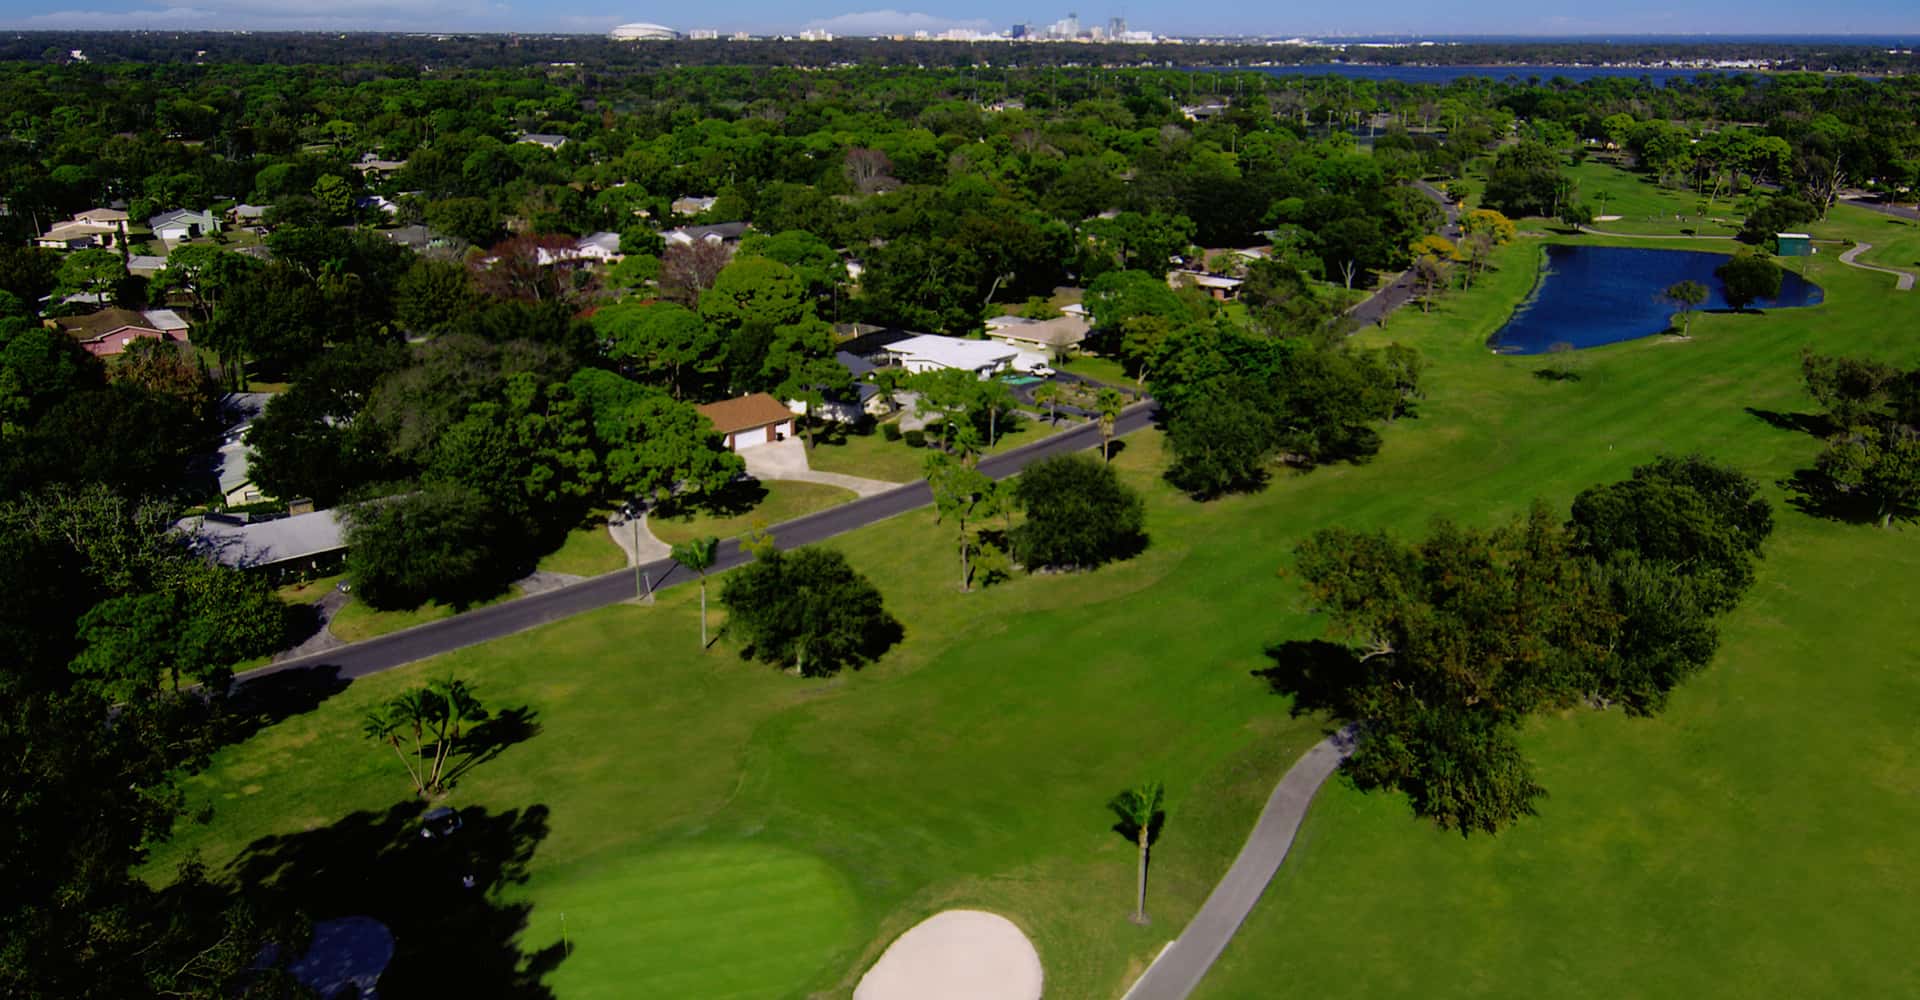
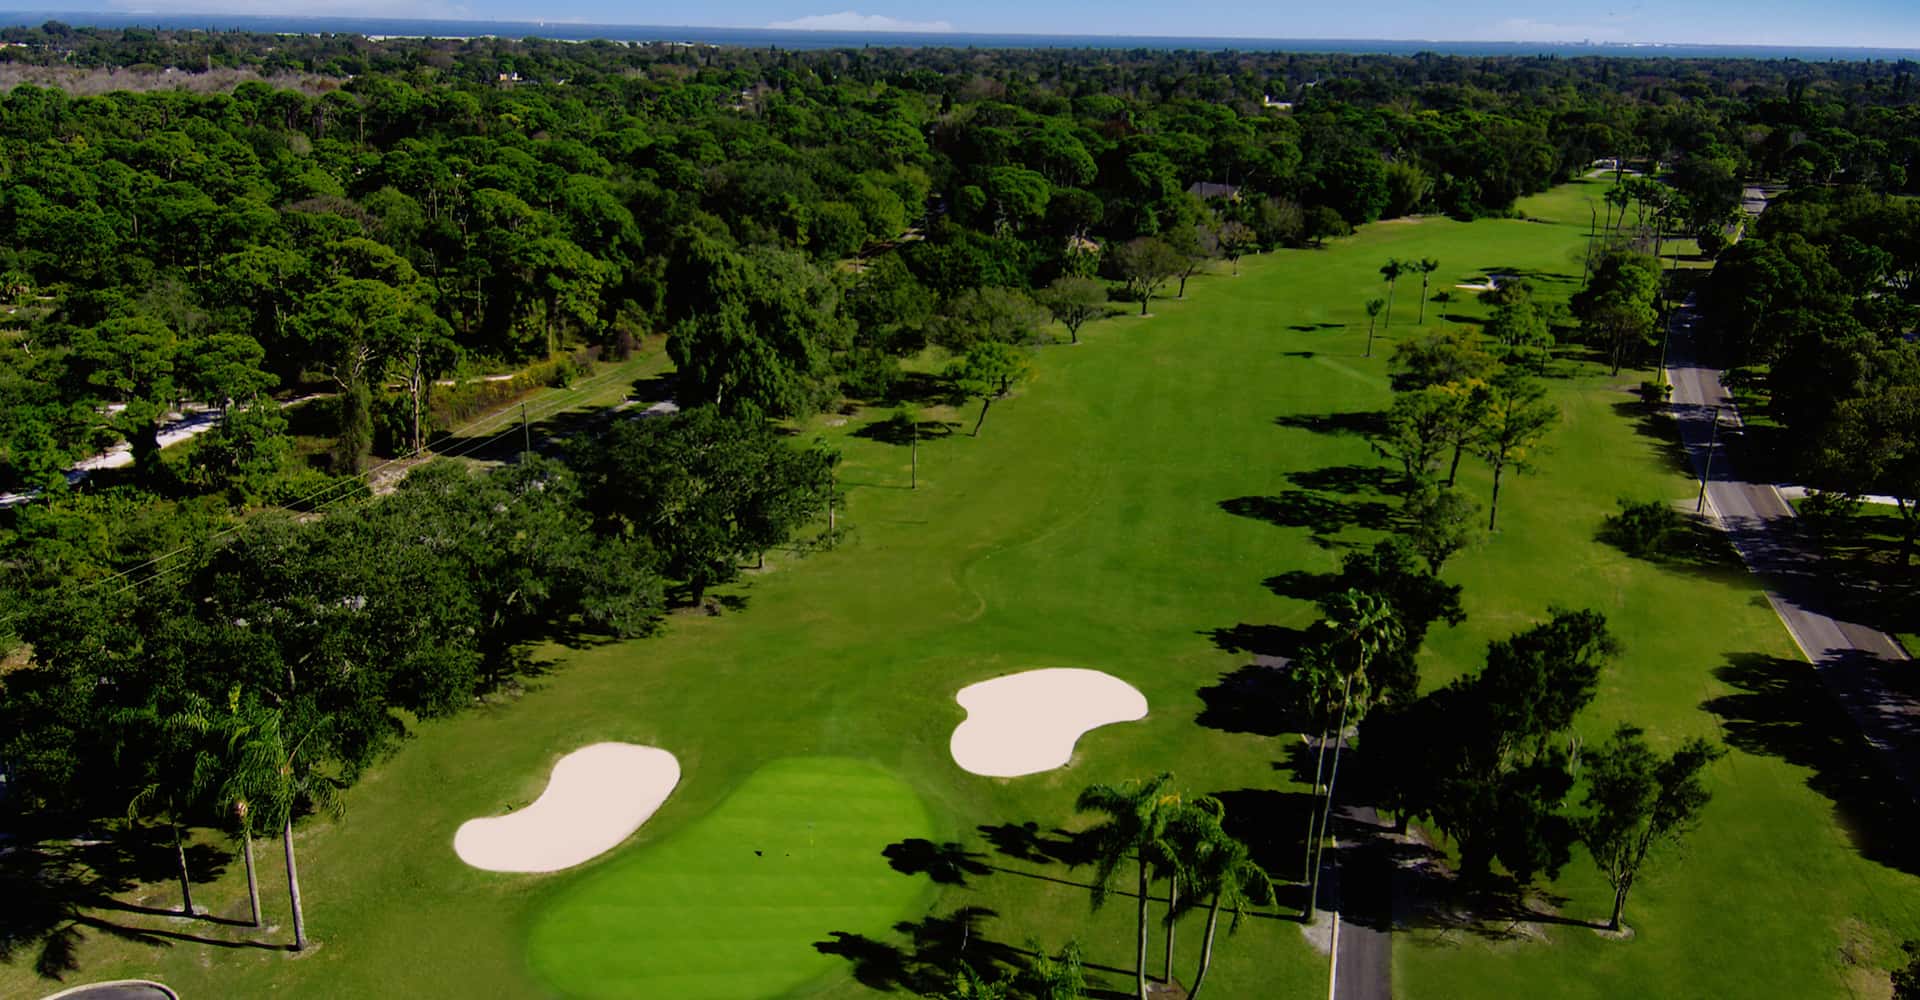
HOLE #2
Par: 5
HCP: 3
Bunker: 4
Water Hazards: 1
Direction: North
The straight forward 5 par can be reached in two by big hitters. Fairway bunkers left and right should be avoided. A shot in the left fairway bunker is certain bogey or worse. The green is small with two-tier contouring from left to right and is well protected by bunkers right and front left.
CLICK IMAGE TO ENLARGE
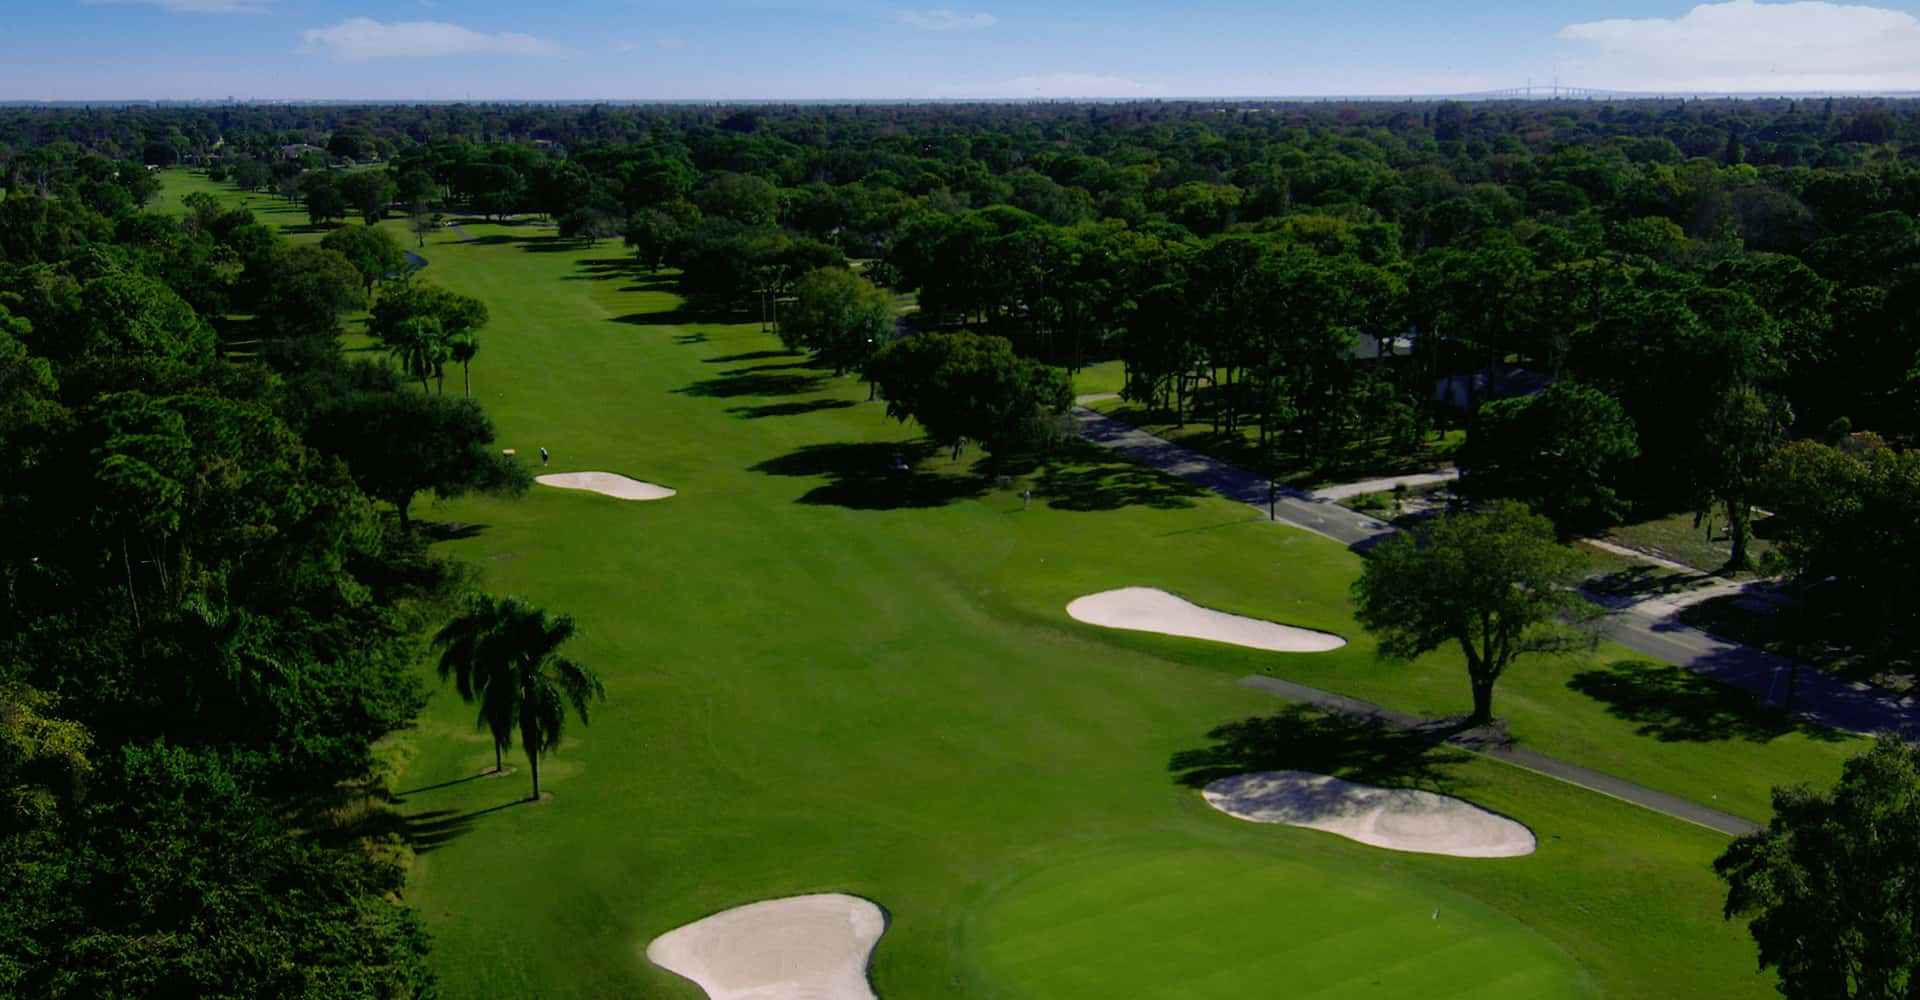
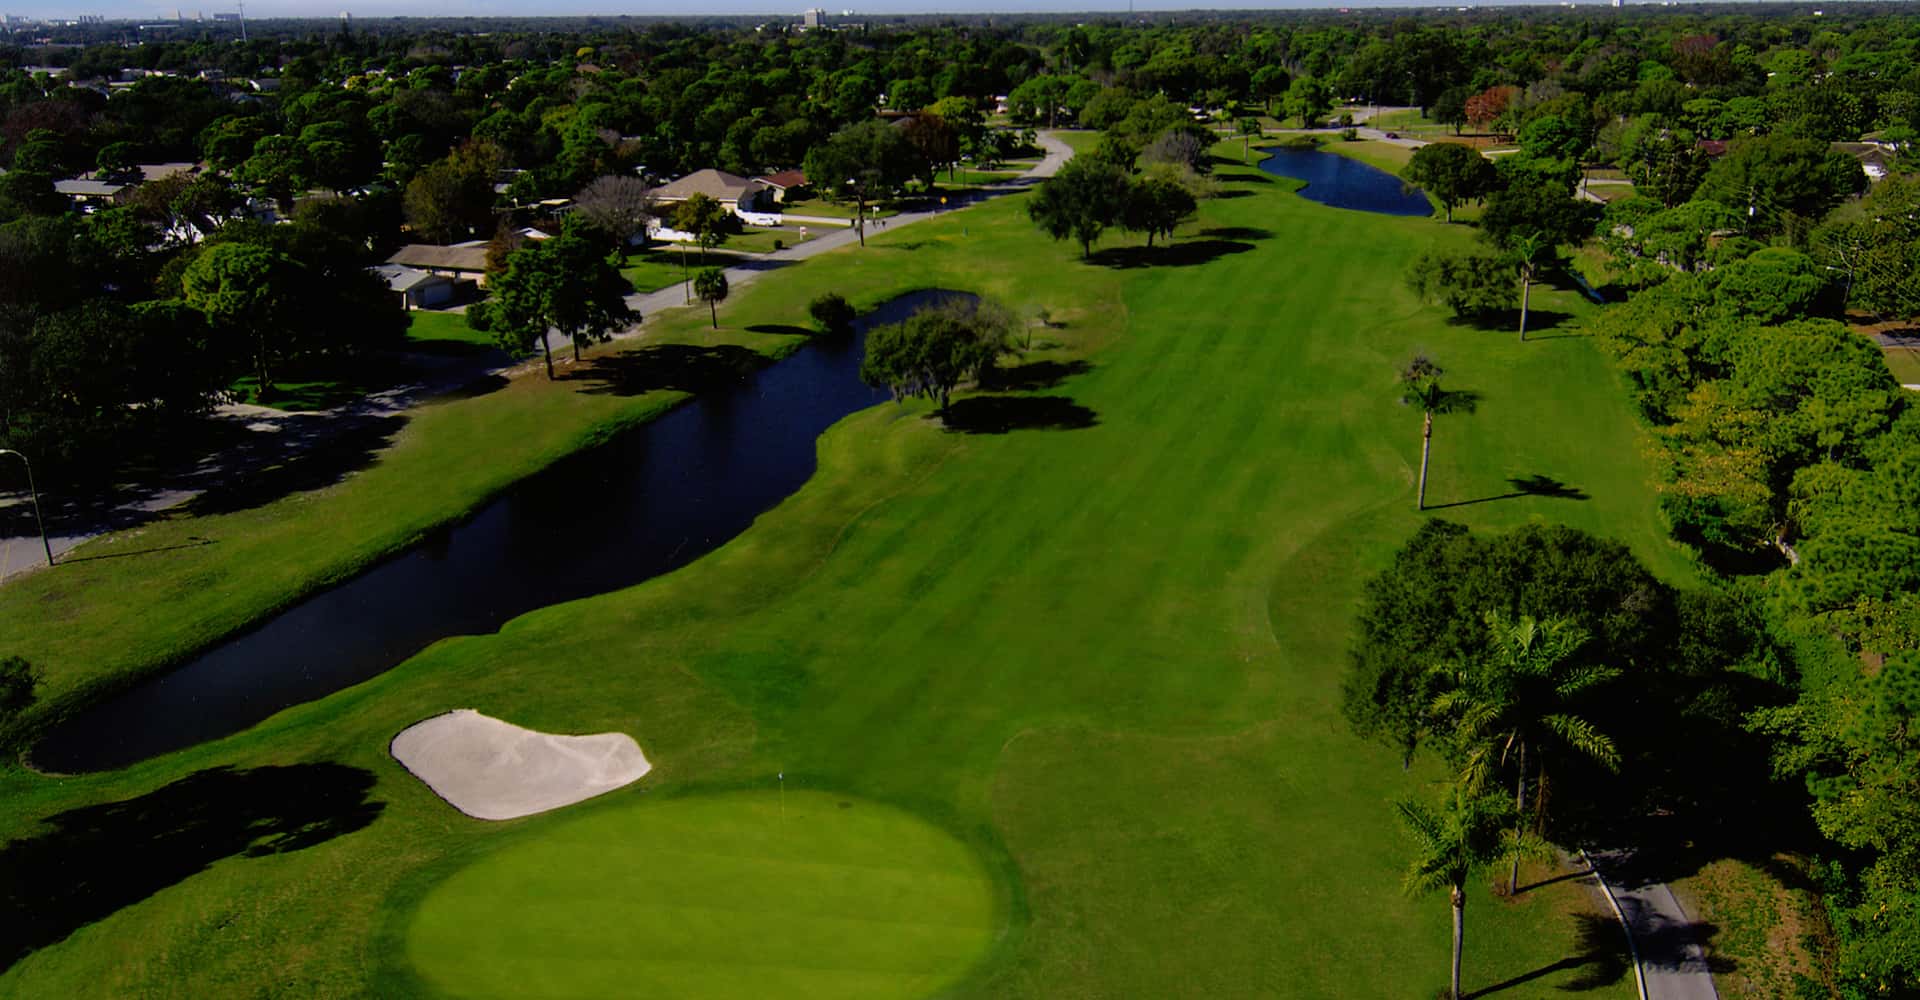
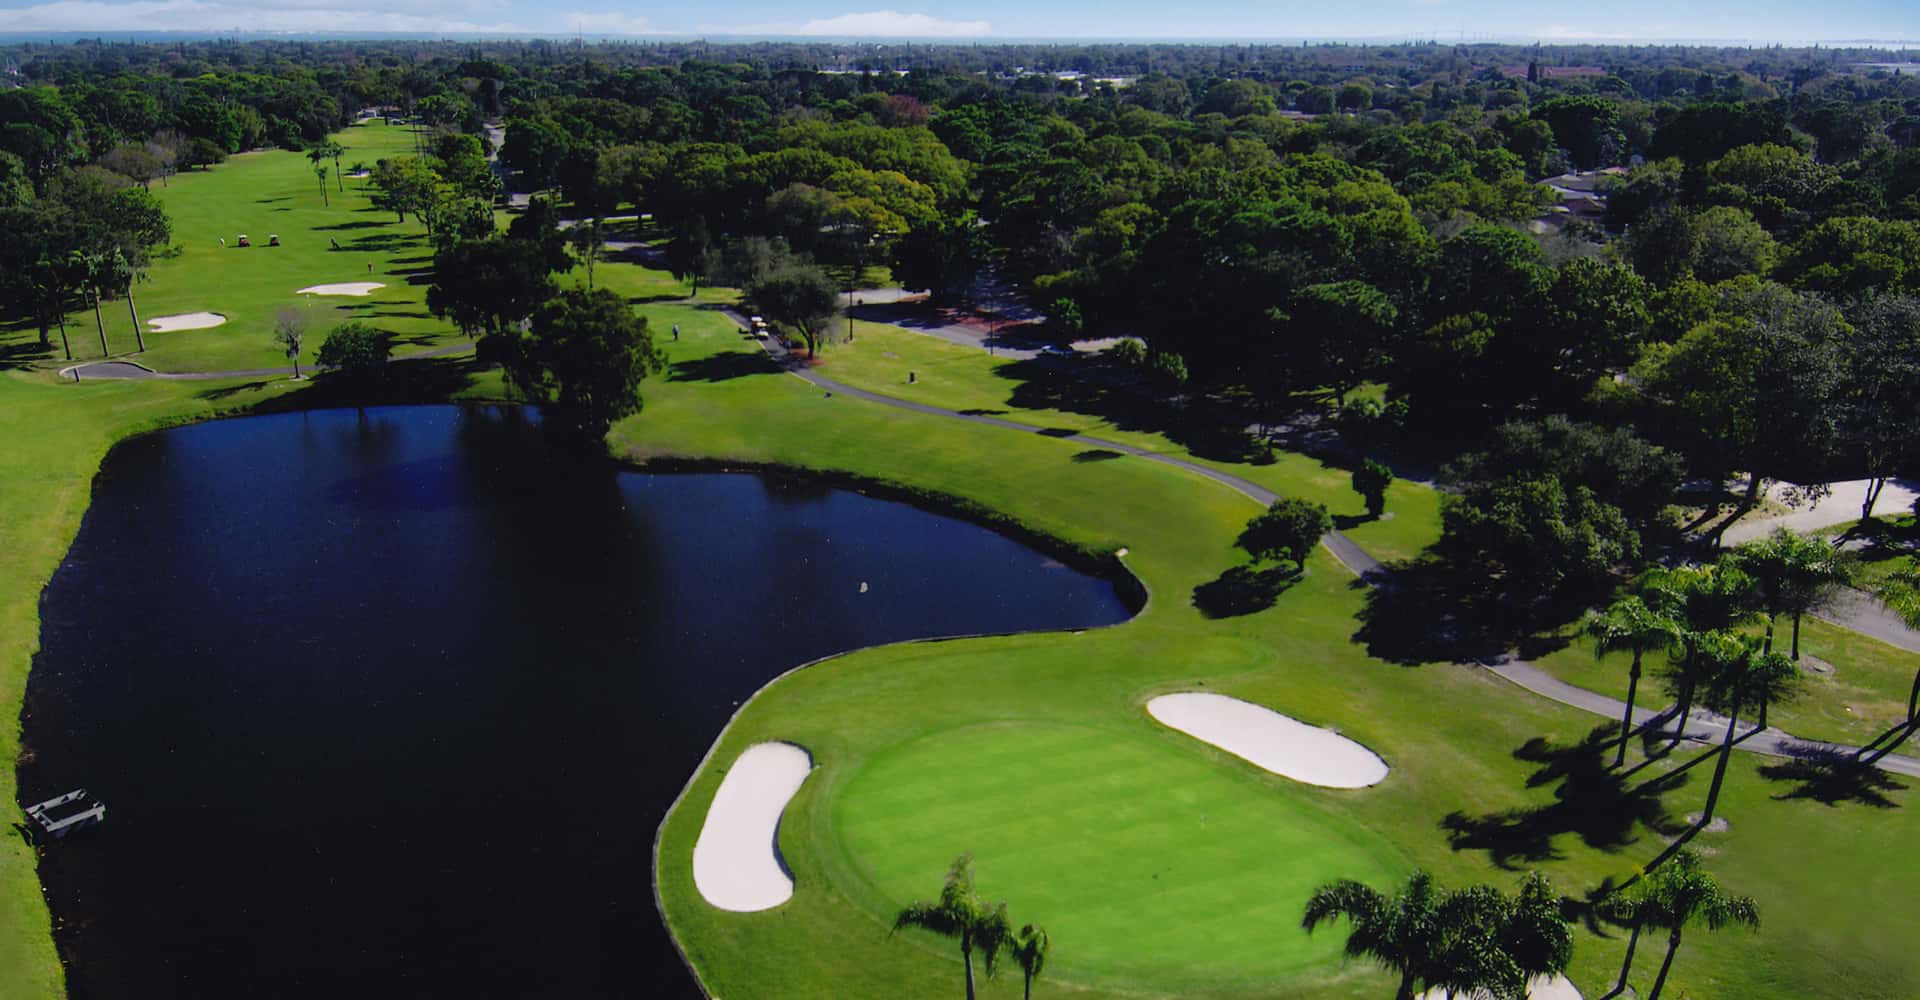
HOLE #3
Par: 4
HCP: 7
Bunker: 2
Water Hazards: 1
Direction: North West
The tee shot tempts players to bit off a piece of the corner, but danger lurks left, right and long. A solid tee shot leaves a straightforward approach, however an errant second can find the water to the right of the green.
CLICK IMAGE TO ENLARGE
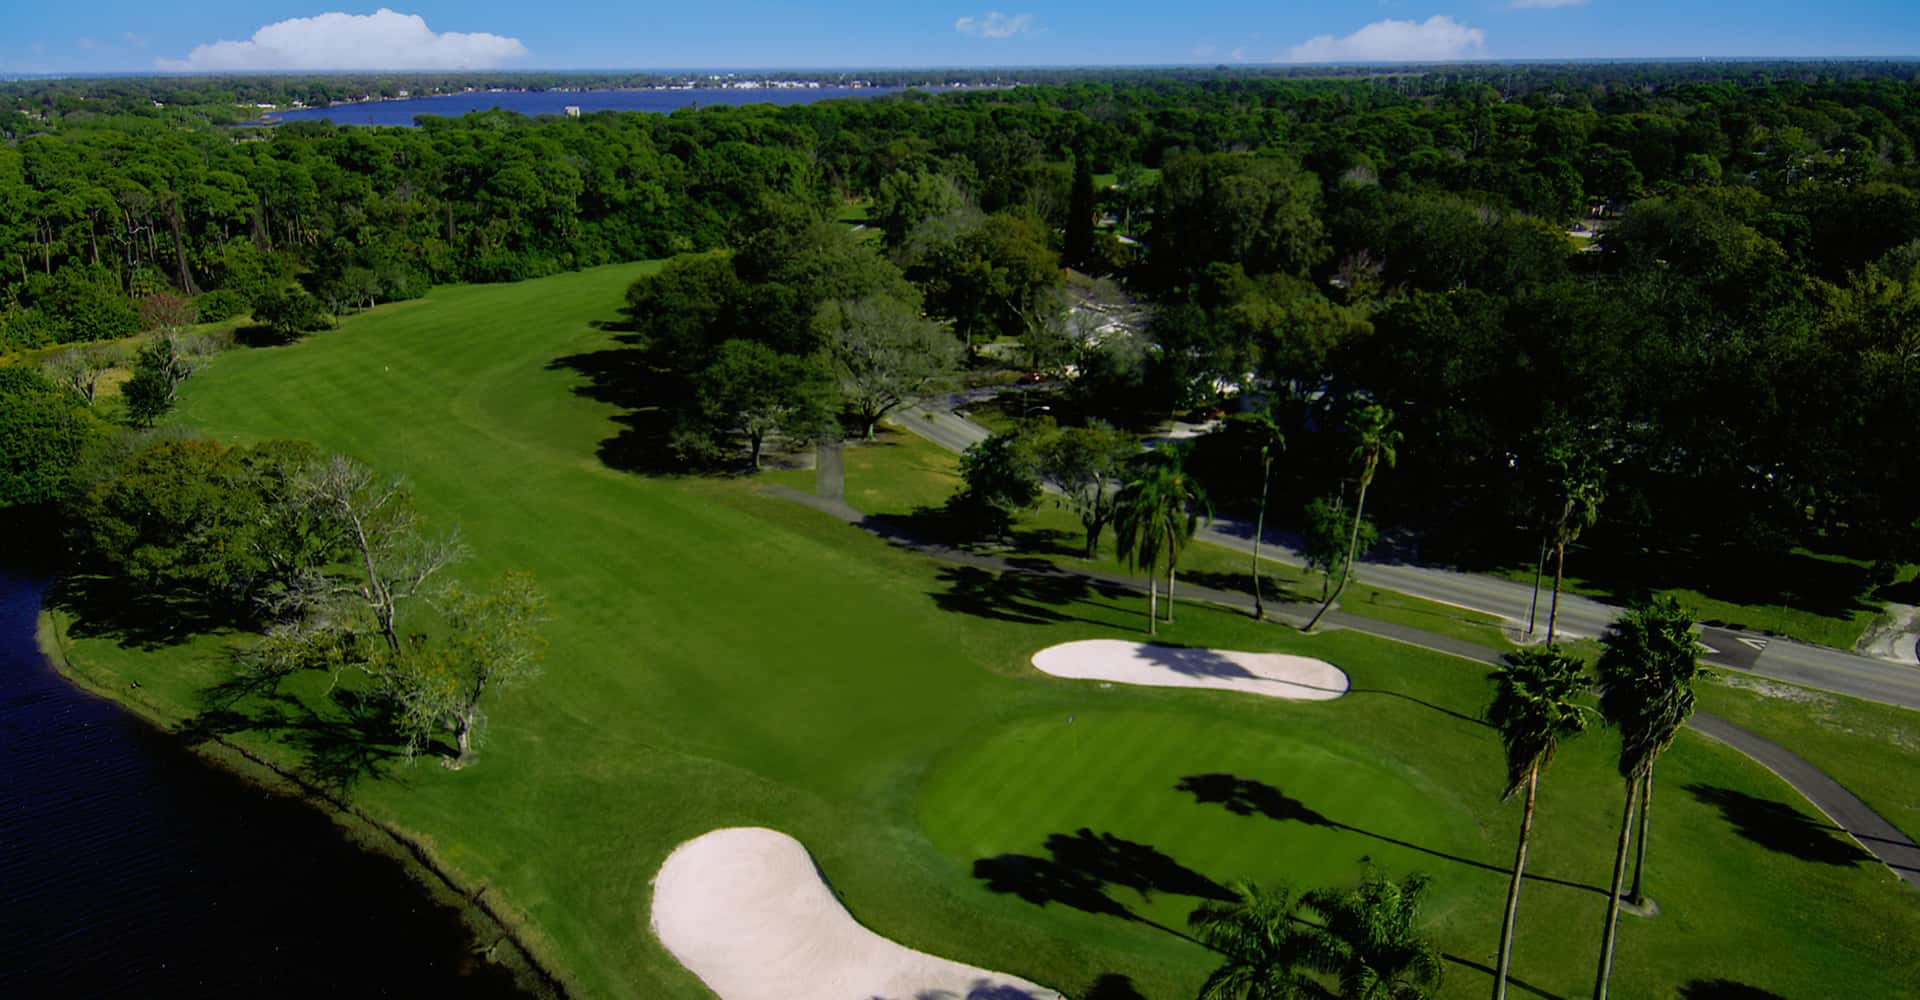
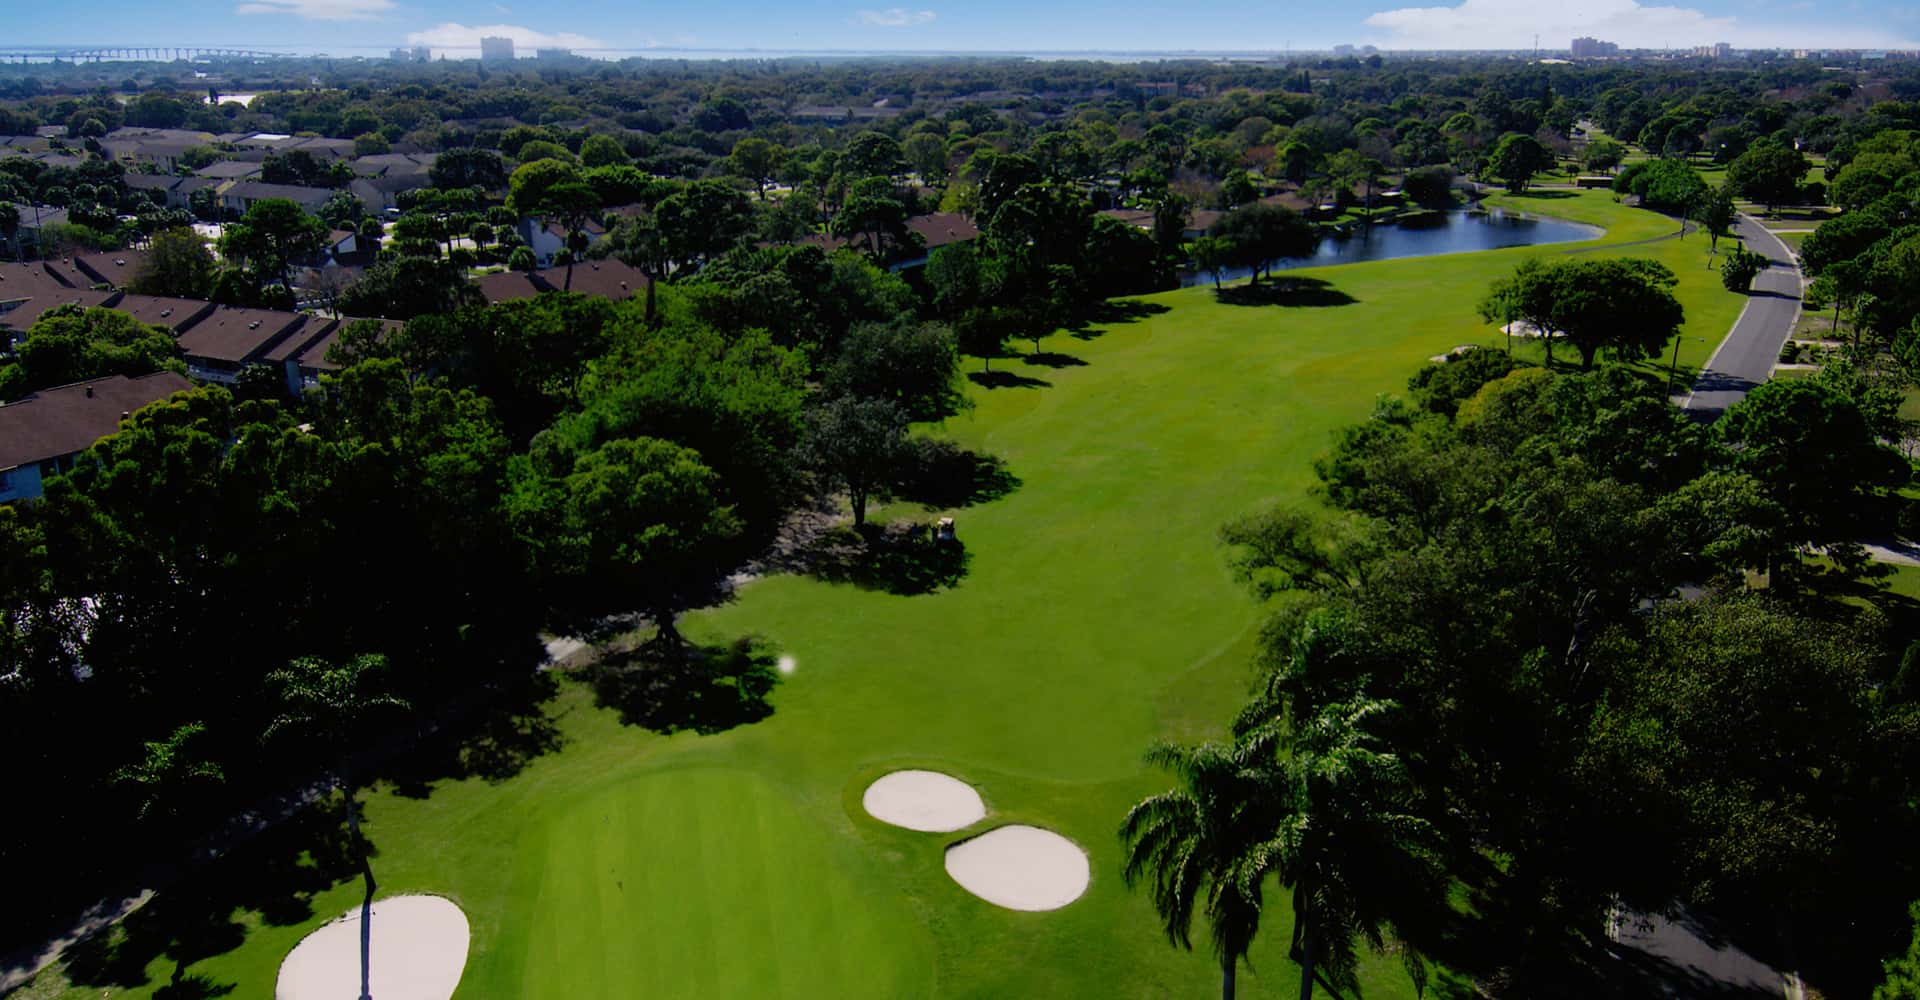
HOLE #4
Par: 3
HCP: 9
Bunker: 2
Water Hazards: 1
Direction: North West
Three is a good score here. The long narrow green is a difficult target for mid to long irons and fairway woods. The green is bunkered left and right, and water is in play for wayward shots short right.
CLICK IMAGE TO ENLARGE
HOLE #5
Par: 4
HCP: 17
Bunker: 3
Water Hazards: 1
Direction: West
The 5th hole offers some respite from a tough start and a birdie opportunity. A controlled tee shot leaves only a short approach, but this small, undulating green means that even the slightest miscalculation with the approach can leave the player with plenty of work to do to save par.
CLICK IMAGE TO ENLARGE
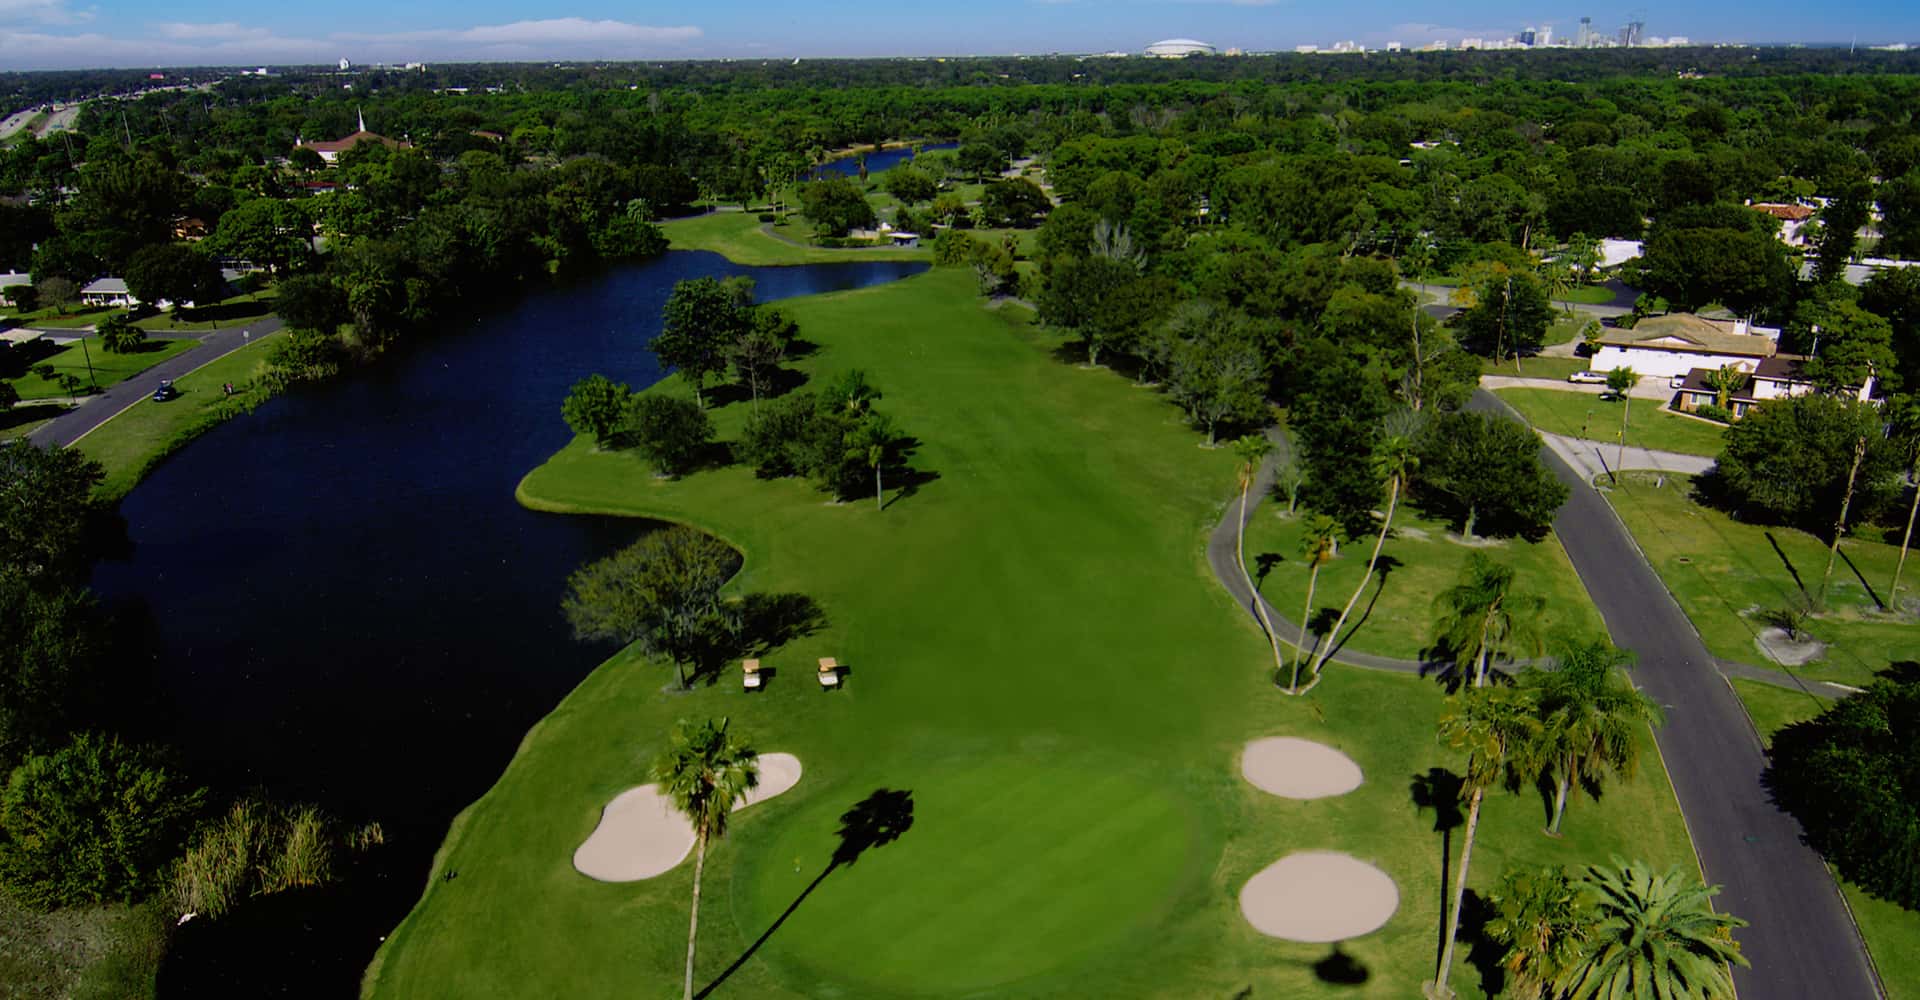
HOLE #6
Par: 5
HCP: 1
Bunker: 6
Water Hazards: 1
Direction: South
The longest hole on the course requires three good shots for all but the longest hitters. The tee shot is demanding with out of bounds and left. The pond right of the green begins 120 yards out and is very much in play. The long green makes club selection change by three clubs depending on the hole location.
CLICK IMAGE TO ENLARGE
HOLE #7
Par: 3
HCP: 11
Bunker: 3
Water Hazards: 1
Direction: East
The steep drop off on the left side of the green funnels shots to the bunkers well below the green. A sand save out of these bunkers is a great play. Two bunkers guard the right side and when the wind is up anywhere on the green is considered a good shot.
CLICK IMAGE TO ENLARGE
HOLE #8
Par: 4
HCP: 15
Bunker: 3
Water Hazards: 1
Direction: East
Eight is short but dangerous. Water runs all along the left side jutting into the middle of the fairway 130 yards from the green. The trees on the right are not a good option, making a lay-up short of the water a smart play. The approach shot is better left below the hole.

CLICK IMAGE TO ENLARGE
HOLE #9
Par: 4
HCP: 13
Bunker: 3
Water Hazards: 1
Direction: East
From the back markers, the tee shot is all carry over water. There is plenty of room for tee shots but favor the right side. Place your second shot on the correct level of the three-tier green to have a good putt at birdie.

CLICK IMAGE TO ENLARGE
HOLE #10
Par: 4
HCP: 10
Bunker: 2
Water Hazards: 0
Direction: South
This mid-length, dogleg right par four starts the back nine off similarly to the font. Shots through the corner of the fairway or short of the corner require some shot making. Again, your best chance to score well is to stay below the hole.
CLICK IMAGE TO ENLARGE
HOLE #11
Par: 4
HCP: 4
Bunker: 2
Water Hazards: 1
Direction: South
Straight away 4 par, nothing fancy. Trees frame the fairway on the left and the right. Water is in play for weak shots to the right. The small, undulating green usually requires careful reading. A three will win this hole most of the time.
CLICK IMAGE TO ENLARGE
HOLE #12
Par: 4
HCP: 6
Bunker: 1
Water Hazards: 1
Direction: East
Slight dogleg right makes for the most demanding tee shot on the course. Players are forced into a left to right tee shot. The shallow green is overshot frequently and up and in from the back of the green is not an easy task.
CLICK IMAGE TO ENLARGE
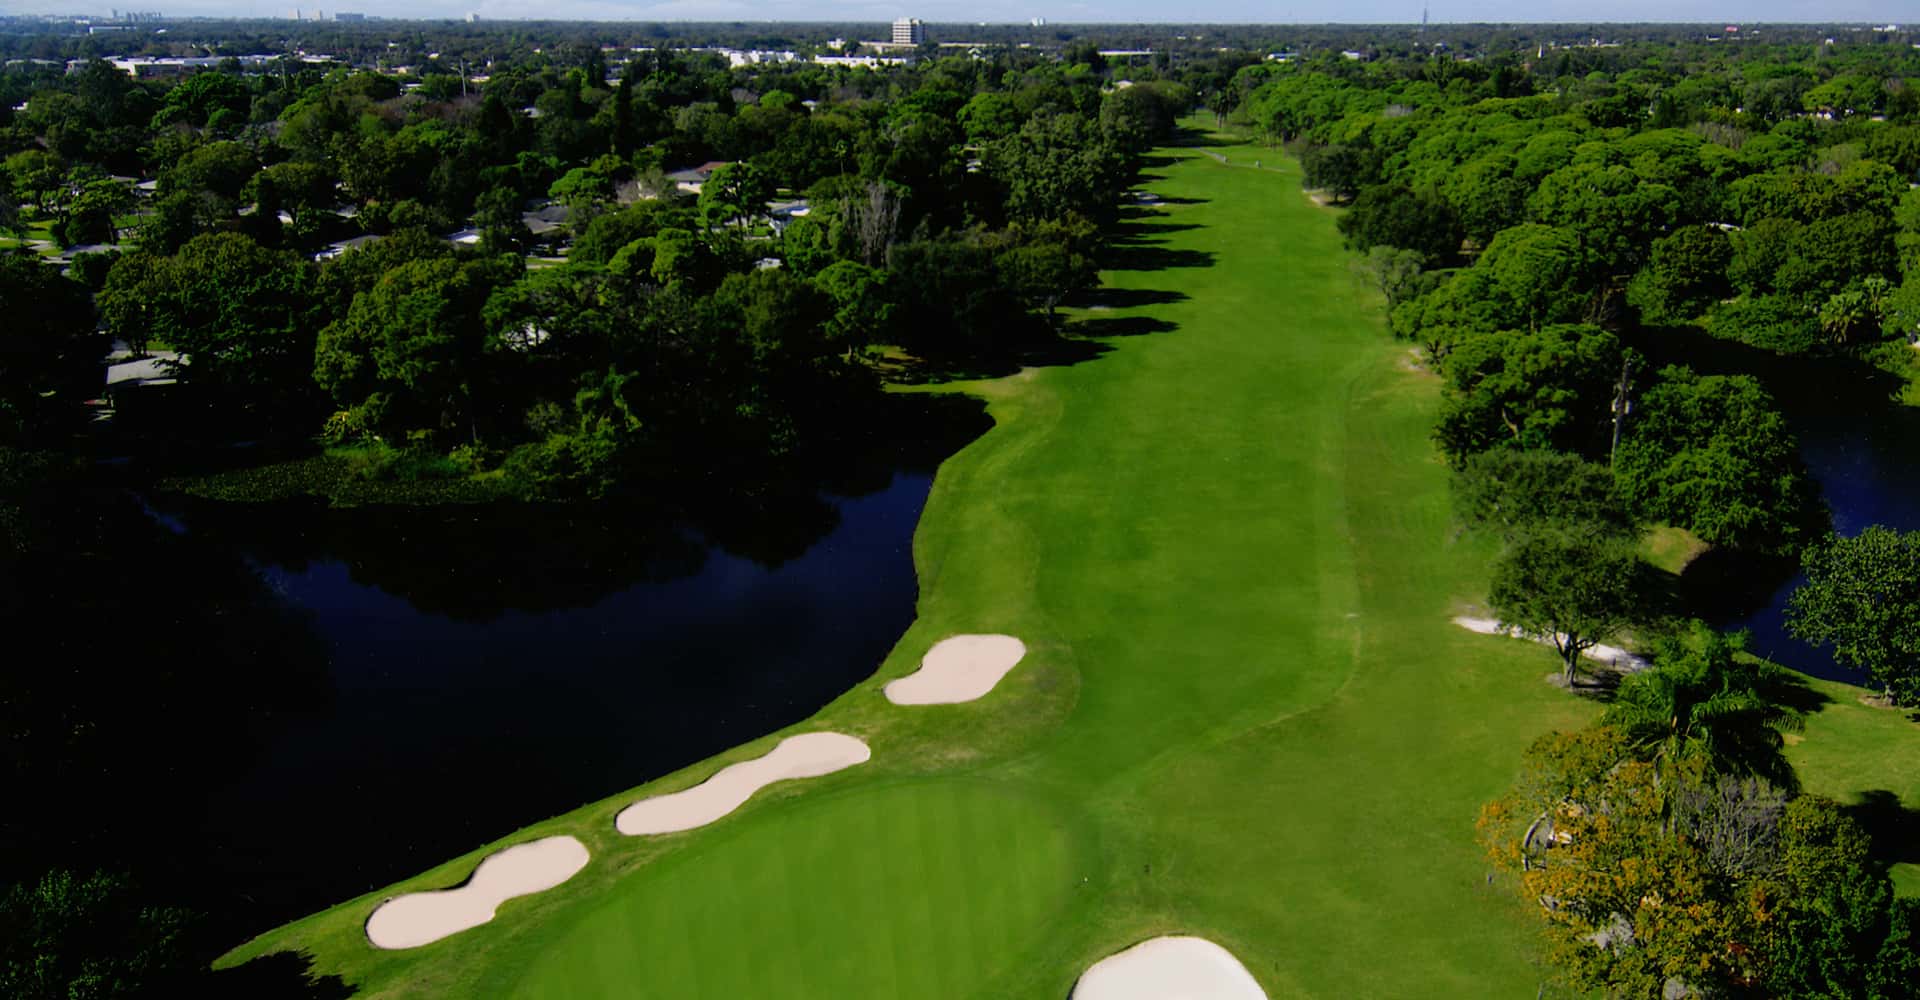
HOLE #13
Par: 4
HCP: 8
Bunker: 4
Water Hazards: 1
Direction: East
Out of bounds left and lateral hazard right. The narrow approach to the green is hard to hit from the left of the fairway. Pot-bunkers front left with the back bunker make for an intimidating shot. There are few straight putts on the front 2/3 of the green, which slopes sharply to the front and left to right.
CLICK IMAGE TO ENLARGE
HOLE #14
Par: 3
HCP: 16
Bunker: 3
Water Hazards: 1
Direction: East
The 14th provides a break from the run of tough Par 4’s, but certainly not respite. It’s a medium-length hole but plays into the prevailing wind. If you avoid the bunkers that surround the green and find the putting surface, you have a good birdie chance – but mind the deceptive breaks and speed on this flatter green.
CLICK IMAGE TO ENLARGE
HOLE #15
Par: 4
HCP: 2
Bunker: 1
Water Hazards: 2
Direction: East
A terrific 4 par, demanding shots are required off the tee and for the approach. Water crosses the fairway 90 yards short of the green. You will always feel good walking off this green with par.

CLICK IMAGE TO ENLARGE
HOLE #16
Par: 5
HCP: 14
Bunker: 4
Water Hazards: 0
Direction: North
The short 5 par plays longer than the yardage indicates, with the fairway sloping against the tee shot. Approach shots missing the green right leave difficult up and ins. Overall, the hole offers a good chance for birdie.
CLICK IMAGE TO ENLARGE
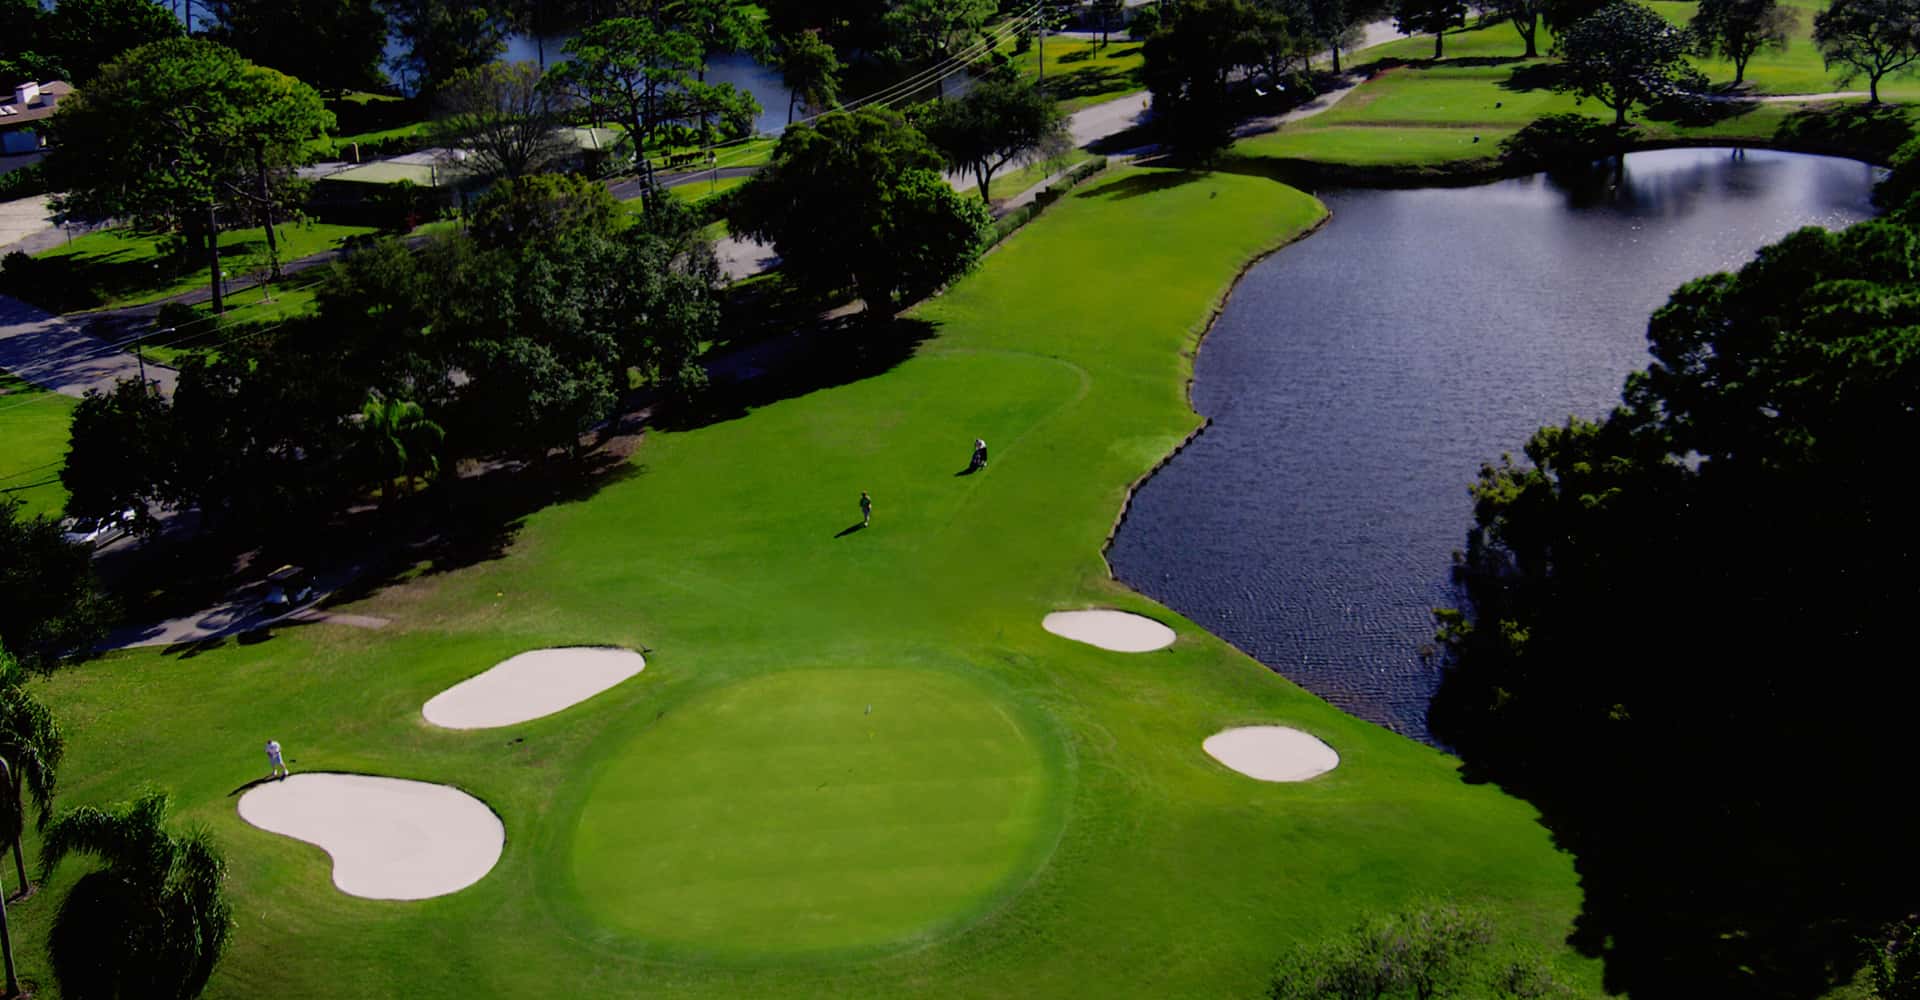
HOLE #17
Par: 3
HCP: 18
Bunker: 3
Water Hazards: 1
Direction: North
Our signature 3 par. Although a short hole, the tee shot is all carry over a water hazard. The large rolling green is also protected by bunkers front-right, left and back. A shot on the green can still require a lot of work to make par.
CLICK IMAGE TO ENLARGE
HOLE #18
Par: 5
HCP: 12
Bunker: 8
Water Hazards: 1
Direction: North
Eighteen is your last chance and a good opportunity to make birdie. The front-right bunker leaves only a narrow opening to the front of the green and bunkers left and right make the approach for longer shots more hazardous.